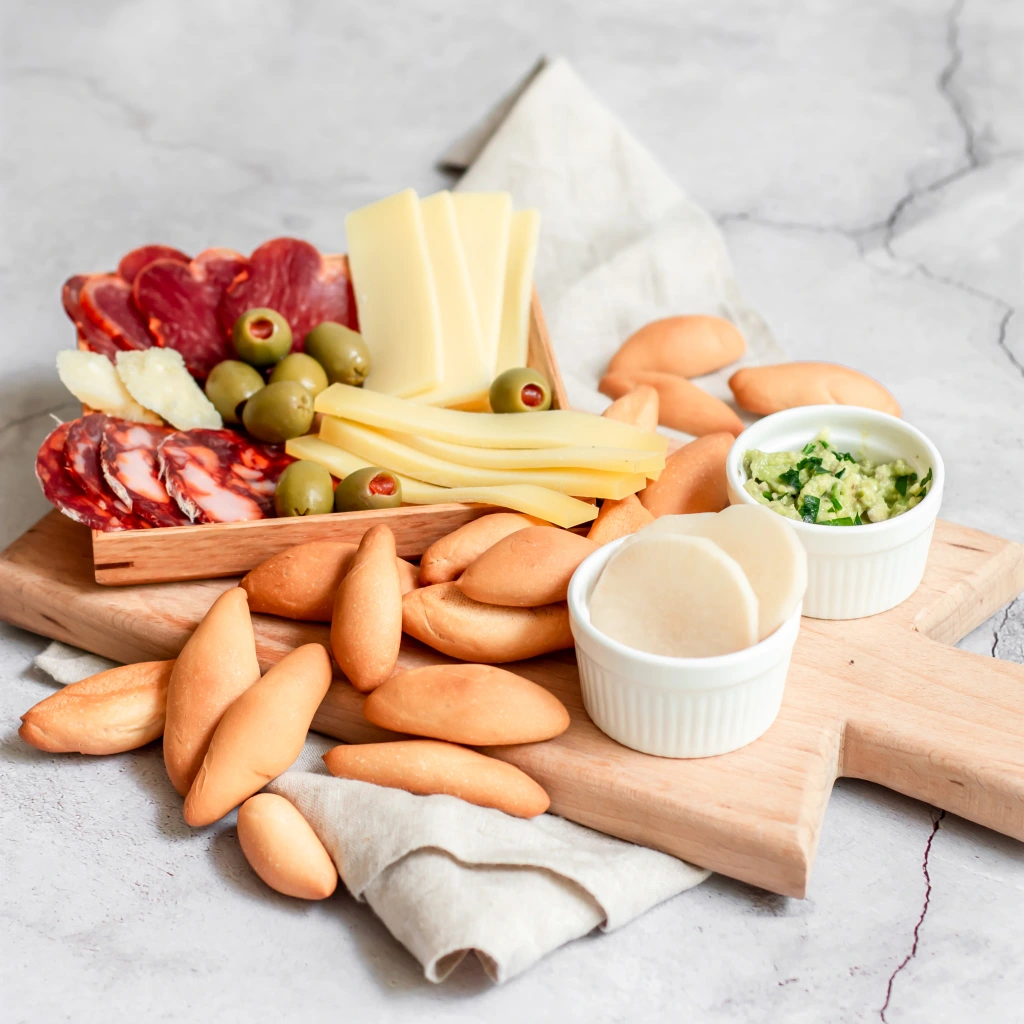
Typically served with tapas or olives and cheese, picos are mini bread sticks that are incredibly irresistible because of their crunchiness and ease…they are in fact way to easy to eat – you’ve been warned! Usually our friends go crazy for them and often can’t quite believe that we homebake them. From my Italian perspective, they are the short and fat cousins of grissini and I absolutely love stealing them from the tin at any hour of the day. Picos are perfect to serve with antipasti, olive and cheese, or your best dips. But my guilty pleasure is to have them with chocolate spread when I fancy a sweet snack – this is never how they would be eaten in Spain…but that certainly doesn’t stop me! Follow our picos recipe if you want to serve these crispy crunchy things of beauty.

Ingredients
- 250g white flour
- 150ml lukewarm water
- 1/4 tsp sugar
- 1 tsp dry yeast
- 1 tsp salt
- 1 tbsp evo oil
Step 1 – In a bowl or a cup, add a teaspoon of dry yeast in the lukewarm water. Add the 1/4 teaspoon of sugar and stir for a few seconds. Let the yeast activate for five-ten minutes.
Step 2 – In a large bowl, or the bowl of a counter top mixer, place your flour and salt. Stir with a spoon then add the evo oil. With your fingers, rub the oil in the flour, until you get a slightly crumbly texture.
Step 3 – When your yeast is active, it should have a foam on top of the water almost like the foam of a cappuccino. Pour the content into your mixing bowl and either knead with your hands, or with the hook attachment of your mixer. By hand, knead for ten minutes. With the mixer, you should be fine kneading for 5-7 mins at low speed (I use speed 2 of my Kitchen Aid). Your dough should feel smooth and elastic. Let is rest for 2-3 minutes.
Step 4 – Take half of your dough and on a clean surface roll it with your hands to create a cylindrical shape, almost like a 1 inch diameter sausage. With a sharp knife, proceed to cut small parts – almost like you would do when cutting gnocchi. Your bread sticks don’t have to be identical in size but just do your best to maintain more or less the same size, so they will all cook at the same time.
Step 5 – Take a small bit of dough between your hands. First rub your hands in a circular motion to create a ball shape. Then rub your hands in a vertical motion, in order to elongate the shapes and get a thin mini-stick. Repeat this step for every small bit of dough. Then repeat steps 4 and 5 for the other half of the dough.
Step 6 – Now that all your mini sticks are ready, cover them with a table cloth and let them prove for 30 minutes. In the meantime, turn your oven on at 180°C.
Step 7 – After the proving, bake picos in the oven for 20 minutes. Turn them around one by one on the baking sheet and put them back in the oven for another 20 minutes. For this second half of baking time, I usually cover them with foil, so they don’t become too dark.
Step 8 – Take them out of the oven and place them on a rack to cool. Picos are better served baked on the same day, but they will stay fresh if stored in an air tight container for up to 6 days.
Follow @blenderbasil

2 thoughts on “Picos – Spanish Bread Sticks”