
A recent entry to the list of local restaurants in North London, Sushi Heads is perfectly located amongst the other local finds on Philip lane. At perfect distance from both Tottenham Hale and Seven Sisters stations, Philip lane has revealed itself as a home for local potential, where new restaurants and cafes are making the most of the up and coming spirit of the neighbourhood, without breaking the sense of local community that’s so breathable around N15.
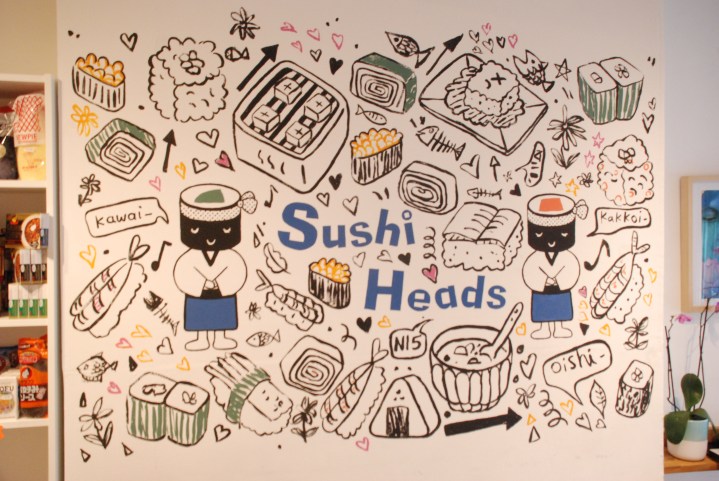
I still remember the first day Sushi Heads was open: I was a passer-by and and I entered right away to verify that what was standing in front of me was indeed a Japanese restaurant. The owner, Naomi, welcomed me with a smile and made a sushi roll there and then while chatting away. Being the first day of business, there was no menu, and she simply asked what we liked and what we didn’t. Impressed by the tasty treasure I took home that evening, I went back again and again, and saw the shop growing into the cozy, family-run sushi restaurant that everyone knows in Tottenham, distinguished by the cute maneki-neko by the window and the colourful drawings on the menus.
When I decided that my first local review should be about Sushi Heads, not only Naomi agreed on me writing about her, she also accepted me spending an afternoon with her behind the counter, assisting her while she made sushi and hopefully learning some tricks myself.
Tamago – It’s all about eggs.
Tamago is the first challenge of my afternoon spent with Naomi. We get served this Japanese omelette at most Japanese restaurants and, let’s be honest, in any common chain, you would barely be able to tell that this rectangular, sweet-tasting cousin of Sponge Bob is actually made of eggs. According to Naomi, because most restaurants rely on ready-made frozen bricks of Tamagoyaki, any sushi expert in Japan would order Tamago first, even though it is supposed to come last as a dessert. If the Tamago is good and fresh, it’s a sign that the sushi will also be fresh.


Who would have thought that eggs were so important? But when I see the dedication needed to make the Tamagoyaki in its specific square pan, and witness the layers of eggs building up the brick of eggy flavour, I can’t help but understand the appreciation. Inebriated by the smell of eggy goodness, we wrap up the omelette inside a makisu (sushi mat) and let it cool on a side.


Shari, or Sushi Rice
Rice is pretty much the simplest ingredient in the world, but I’m sure many westerners have failed their attempts at sushi just because their rice didn’t have the perfect stickiness and flavour. Before preparing Tamago, we made sure the rice was well washed – we washed it four times! – and put it inside the rice cooker. Obviously, one of the main problems for westerners making sushi at home is that we just don’t have a rice cooker! Naomi explains to me that it is certainly possible to prepare the sushi rice in a pan at home. The ratio for water to rice should be 1.15:1, with water as the higher quantity. Bring the rice to boil, then turn the heat down and let the rice simmer for 15 minutes. Turn the heat off and let it settle again for another 15 minutes. The rice should be nice and fluffy with no water remaining.


After this stage, you need to dress the rice with something called sushi vinegar, and you can either make it yourself, or go to Sushi Heads and buy it – Naomi stocks a variety of Japanese ingredients and food! Naomi explains that to make your own sushi vinegar, all you need is 150ml vinegar, 80g sugar and 10g salt. It’s super easy and you can store it in a bottle to use again for dressing sushi rice. Otherwise, it can also be mixed with sesame oil and soy sauce to dress simple veggie dishes like Sunomono (cucumber salad).


Once the sushi vinegar is made, we put the rice into a wide wooden bowl called Hangiri, dress it and I mix it while Naomi cools the mix with the help of a Japanese fan. Then we swap until the rice has cooled but is still lukewarm, the best temperature to be spread properly on seaweed for the rolling process.
Sushi-quality Fish
The quality of the fish is also very important. As a Tottenham resident, I know how difficult it is to find good quality and sustainably-sourced fish in the area, so I ask Naomi where she gets hers. Billingsgate is her provider, who can also arrange delivery on request for anyone. However, any loyal fishmonger should be able to advise whether the fish they are selling is sushi-quality. And only then, you can be sure that it’s safe to be eaten raw.


While we are prepping the fish, Naomi also shows me that the best knife for the job is the Sashimi Bocho, with which she cuts the salmon and tuna diagonally for sashimi, and in straight slices for the nigiri. The recommendation from Naomi is to select blue-fin tuna if possible, as it is the very best quality for sushi.
Ready to Roll!
Once we are all prepped, Naomi sets up a table where we get all the ingredients at hand: we have a mixture of raw and cooked fish, sliced tamago, raw veggies, an avocado and some cooked asparagus and carrots, some previously prepared salmon skins and tempura prawns. The time has arrived: I’m about to make my very first roll!
Naomi familiarises me with the nori (seaweed), showing me the correct sheet size for the roll we’e making.
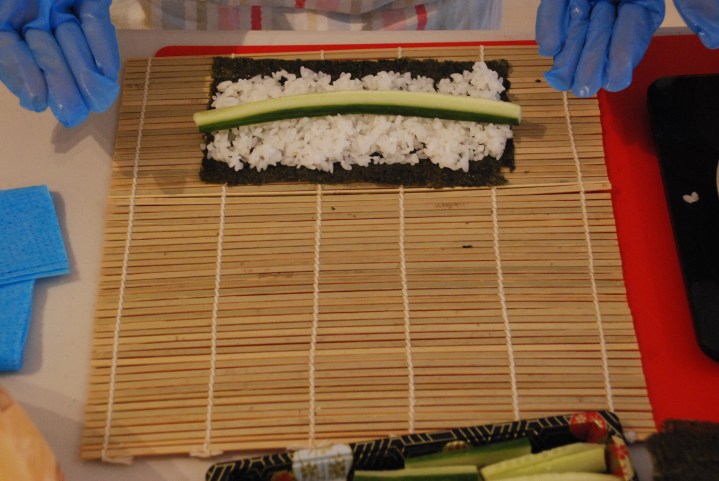
We start with a skinny roll, so I learn the movements, and they are pretty much as follows…
Step 1 – Place your nori (half a sheet for a skinny roll) on your makisu, trying to keep the sheet Flat and close to the edge of the mat. Take a small handful of rice (70-80g for a skinny roll) and spread it on the nori, leaving a border of half a centimetre on the bottom and the top. The rice should be spread evenly.

Step 2 – Choose your filling (only one for a skinny roll) and place it in the middle of the mat.
 Step 3 – With both thumbs, lift up the mat from the bottom side, and with the rest of your fingers hold the ingredients, in order for the nori to fold exactly where it should, starting to create a roll.

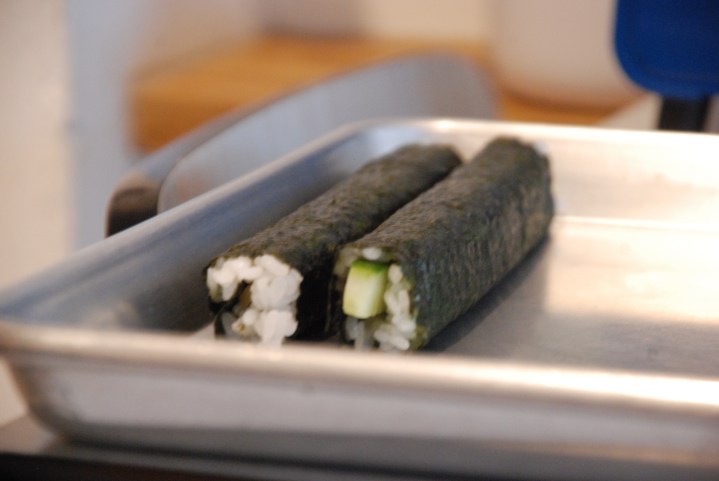
Step 4 – Keep rolling till the nori closes and with your fingers press the roll along the length and then down, giving almost a squared shape to the roll, thanks to the mat.

Step 5 – You should have a clean roll, and the filling should not be falling out from the side. You are ready to cut, using a very sharp knife, making back and forth movements, like when cutting bread, rather than pressing the knife down. In fact, like many chefs, Naomi also agrees that a bread knife does the job just fine.
After the first skinny roll, we repeat again and again, ending up with quite a few rolls of different sizes – my stomach growling with appetite. Then we do a reversed roll, with rice on the outside of the nori. The process is very much the same, except the rice covers the full surface of the nori, the ingredients need to be put on the nori side, and the mat needs to be covered in cling film. Our sushi tray is getting bigger and bigger.


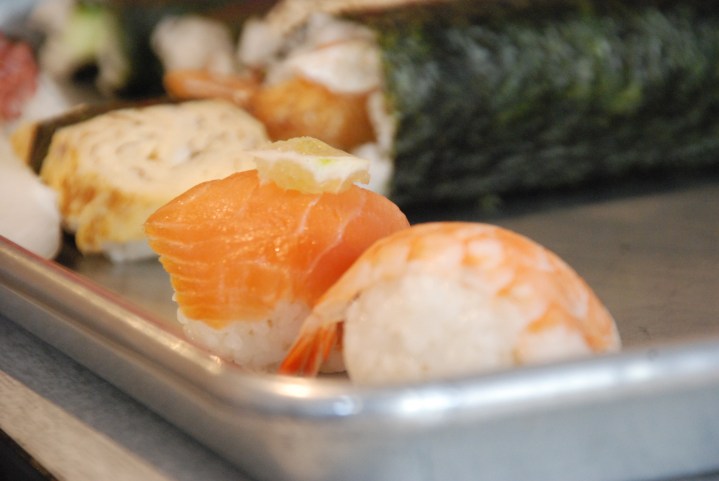
Sushi
After the rolls, we move onto Nigiri, which is easy and fun! We simply make small balls of rice and put our favourite ingredients on the top, sticking them with some wasabi paste and securing them with a belt made of nori.


Then, Naomi spreads rice only on half of the nori sheet, creating a squared surface. She adds the ingredients diagonally and rolls it into a cone. Temaki is best served and eaten fresh! I can give you my word, I did!

After the temaki, we decide to make some temari sushi: these are small balls of rice covered in fish, just like nigiri, but very round. The process is super-easy; in one hand you hold a small sheet of cling film, then place your chosen fish in the palm of your hand and top it off with the small ball of rice. Then, wrap the cling film to create a ball and make sure it’s well-tightened, so the shape is kept once the cling film is removed. These are so adorable and great fun for kids to make!
The rice is almost gone, but Naomi has an idea! She cuts some tuna and some salmon in very small pieces and places them in different bowls. She adds soy sauce, chilli powder, spring onion and some vinegar to the salmon; she adds a spicy sauce made of Japanese mayonnaise and Korean Gochuang to the tuna, and mixes. Then, she uses the leftover rice to make two small balls of rice and elongates them in her fist, like she did with the nigiri. She takes a stripe of nori and wraps it tidily around the rice, almost creating a boat shape. Next, she fills in the space left on the top of the rice with the tuna and salmon and there we go – Gunkan Nigiri are also served!


Like every single visit to Naomi, I go home with a big tray of sushi and a full belly. But this time, I’m taking home much more – I’m bringing back the great experience of being a guest in her kitchen and a witness to the magic behind the counter!

Sushi Heads is open from Tuesday to Saturday from 11am to 8pm.
You’ll find them at 205b Philip Lane, London.
To pre-order before picking up (they don’t do delivery), call 020 8801 3111.
Hopefully Naomi will soon open her kitchen to offer sushi classes – contact her for more info on Facebook: @SushiHeads; or Twitter: @SushiHeadsN15

![]()
