
In the season of pies, I actually choose a cake…This soft apple cake recipe is exactly what I need to tackle my need for Autumn feels!
While I’m at a wee distance from the equator, it is obvious that I won’t experience the freshening up of the temperatures, the yellowing of tree leaves and let alone apple picking! But thankfully we have beautiful Pink Lady apples from New Zealand coming right at my local supermarket here in Ho Chi Minh City. When I saw them in their splendour, I thought immediately of this soft apple cake!
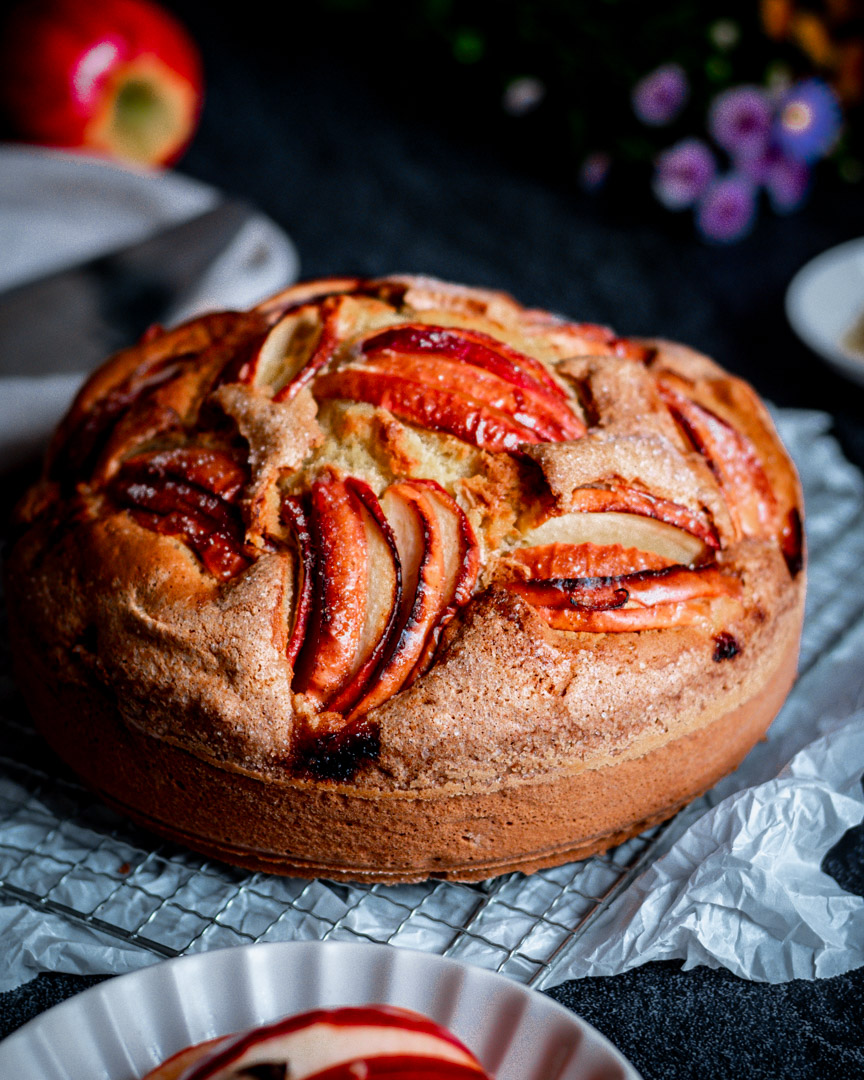
Separating the eggs and making a meringue with the whites will make this apple cake super soft; and the sprinkling of cinnamon sugar on the top will give it an irresistible crust.
For a special visual effect, don’t peel the apples, and make sure you follow the macerating process so they don’t discolour. Here comes another recipe on the internet for apple cake, and I hope it’s one you will enjoy!
Ingredients:
To macerate the apples:
- 1 tbsp brown sugar
- The juice of 1 lemon
- 50ml whisky
- 1 star anise
For the cake:
- 3 pink lady apples
- 70g butter cut in small cubes and left at room temperature to soften
- 180g white sugar
- 120g milk (room temperature)
- 3 eggs (room temperature)
- The zest of 1 lemon
- 300g flour
- 16g baking powder
- 1 tsp whisky
For the final touches:
- 1 tsp ground cinnamon
- 1 tsp white sugar
Step 1 – Chop the apples in fine slices and place them in a bowl with the macerate ingredients to soak. 15 minutes is enough to give them fragrance, aroma and prevent the apples from darkening. I left them for the duration of prepping the ingredients and making the dough, so probably around 45 minutes.
Step 2 – Use a 20cm round cake stamp with a removable bottom. Rub the inside with a knob of butter and sprinkle it with flour, or line it with parchment. Turn the oven on at 180°C.
Step 3 – Put the egg yolks and half of the sugar in a mixing bowl. Start mixing with an electric whisks or a standing mixer. Mix till the texture is creamy and moussy.
Step 4 – Add the softened butter, cube by cube gradually, and keep mixing.
Step 5 – Add the milk gradually and keep mixing.
Step 6 – Sieve three quarters of the flour with the baking powder. And start adding gradually to the mix. Keep mixing.
Step 7 – In a separate bowl, whip the egg whites together with the remaining sugar. Whip them till you have a firm to stiff peak meringue.
Step 8 – With a spatula, start adding the meringue gradually and incorporate it by cutting through it and then going around very gently, almost creating a number 8 shape, in order to preserve the air in the mix. Then, gently start incorporating the flour as well, using the same method.
Step 9 – Add the lemon zest and incorporate it to the mix.
Step 10 – Remove the apples from the macerate and separate one third of the slices to add in the cake mix. I chose the thinner slices and the ones that broke a bit and incorporated those into the cake. Instead, I kept the better looking slices on a side to be used as decoration on the top of the cake.
Step 11 – Put your cake mix in the cake stamp. If you need to even out the distribution, do so gently with a spatula. Then, distribute the remaining apples on top of the mix creating the decoration that you prefer. I opted for a messy look, placing the apples with the peel side up, alternating the direction, because I wanted the peel to be visible in my pictures. After that, sprinkle the top with a mix of sugar and cinnamon. This will create a crunchy layer on the top of the cake.
Step 12 – Place the cake in the oven and let it bake for 50 minutes. Pierce it with a long wooden skewer and if it comes out clean your cake is baked! If not, proceed to bake it for another 5 to 10 minutes, covering the top with an aluminium sheet to prevent it from burning.
Step 13 – Once the baking is complete, remove the cake and let it cool down for 15 minutes before removing it from the tin. Serve it alone or with some vanilla ice cream, or your favourite cream.
