
As it’s summer, and strawberry season, I thought I’d try out Jamie Oliver’s supposedly super easy way to make homemade strawberry jam. While I love strawberry jam, most store-bought versions taste a tad too sweet/artificial for me. The jam with the lowest sugar-to-jam ratio I’ve found is the Streamline Reduced Sugar Strawberry Jam, which is nice as well, but guess there’s nothing like making your own!
It’s my first time trying out this recipe, so I’ve scaled it down slightly (only very, as the strawberries were on offer). Also, I didn’t find any whole vanilla pods in the shops, so used ground vanilla beans instead.
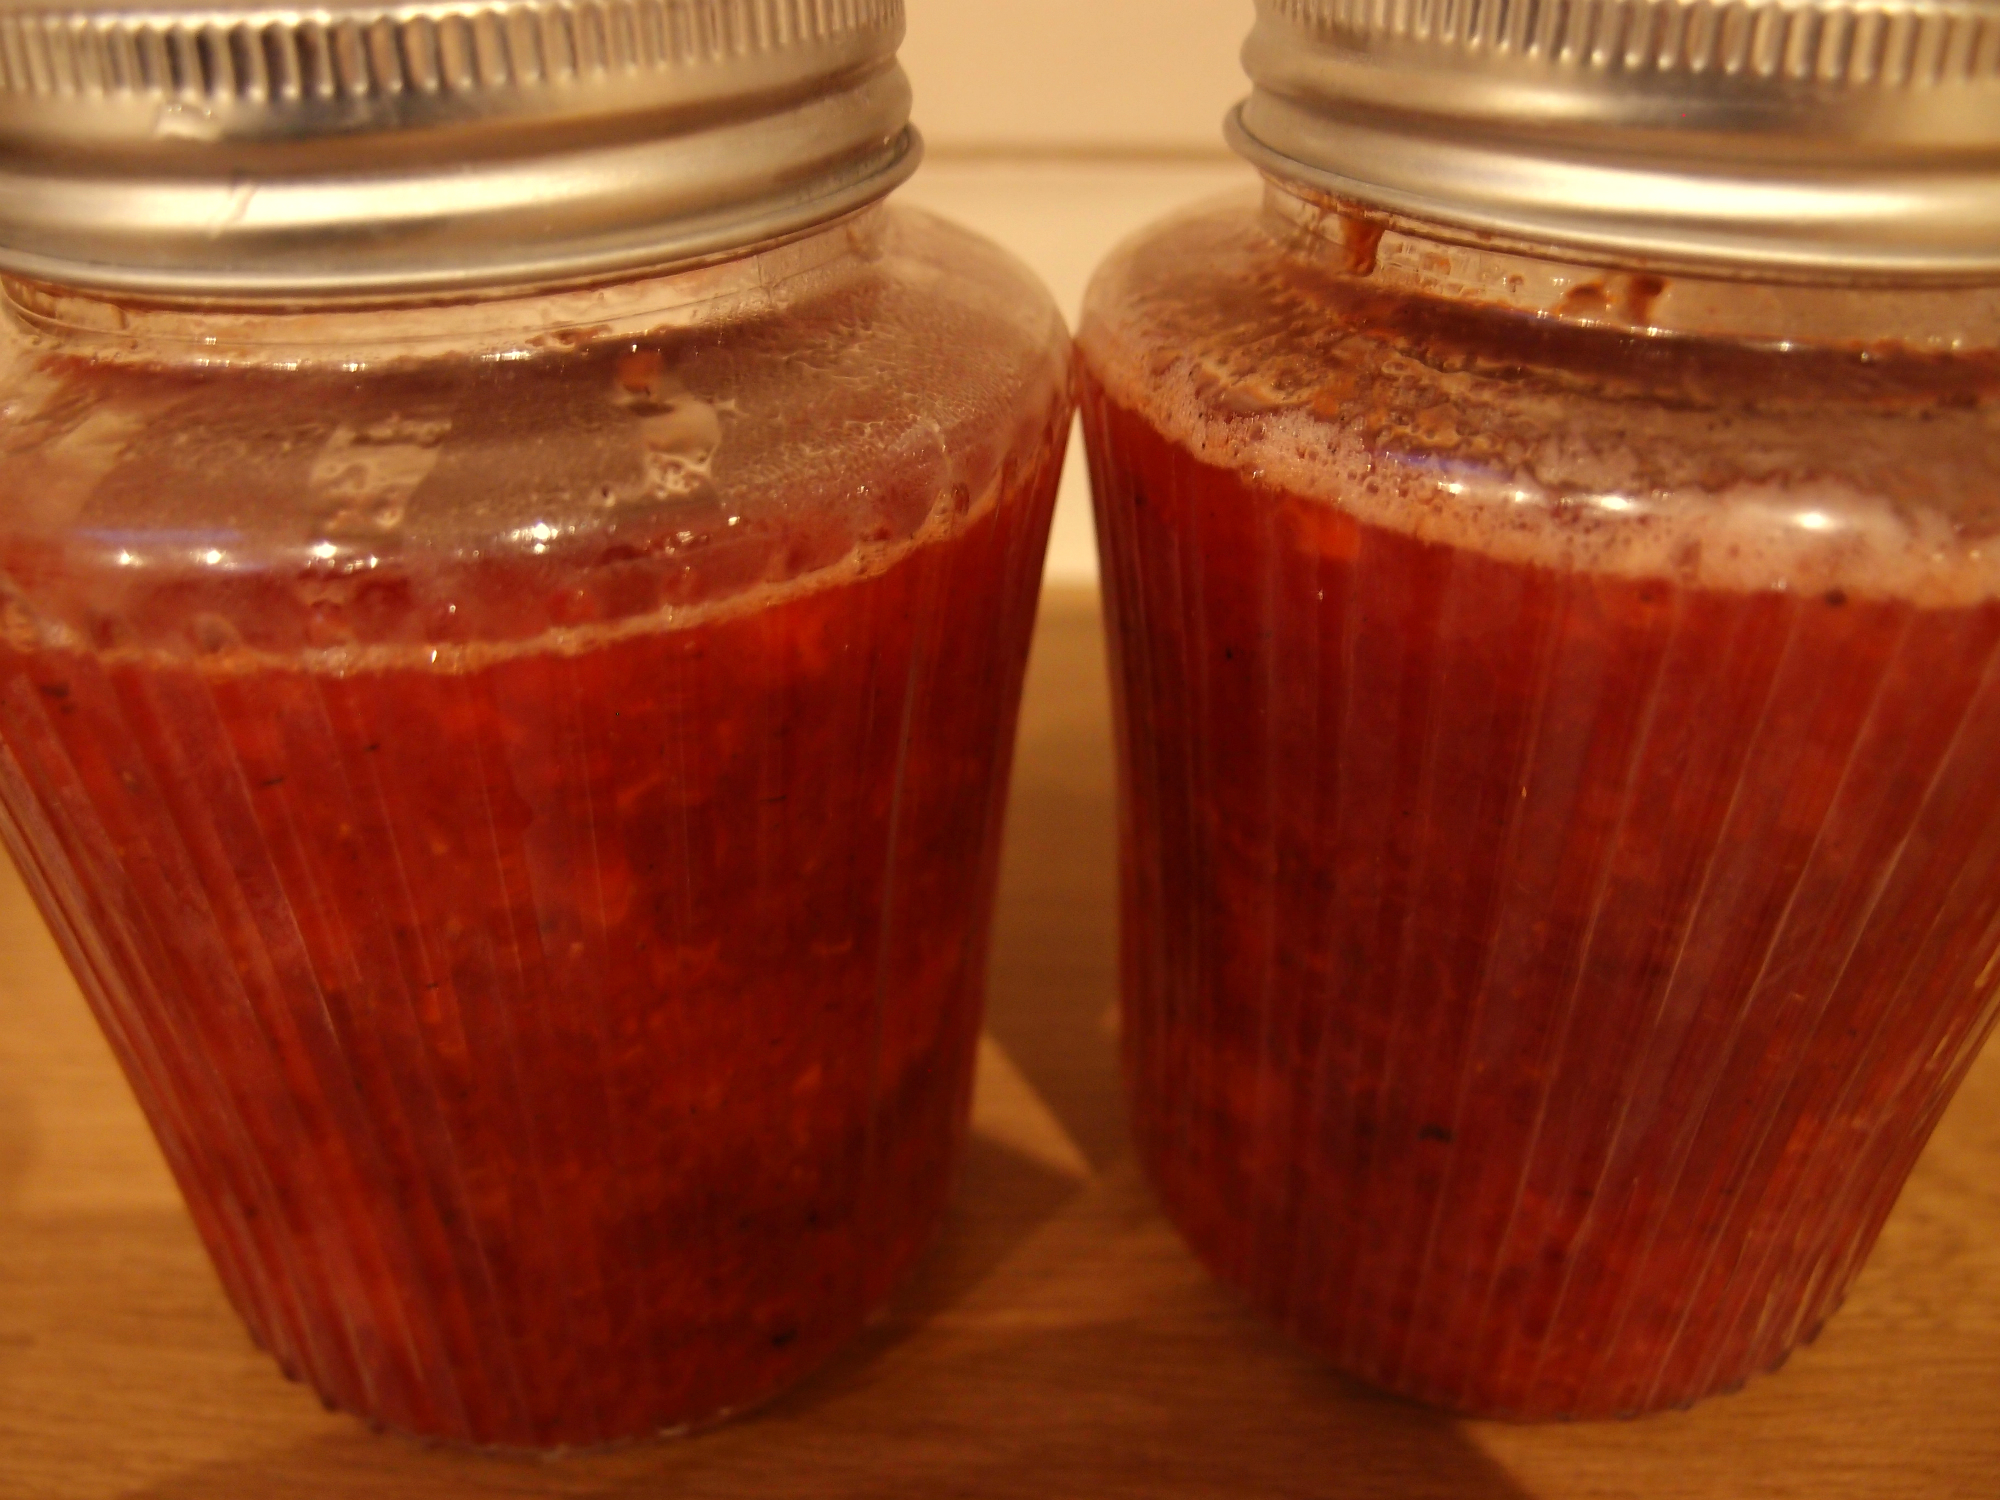
This filled 2 x 500ml jam jars – not quite as expected from what the original recipe mentioned.
 I used…
Ingredients
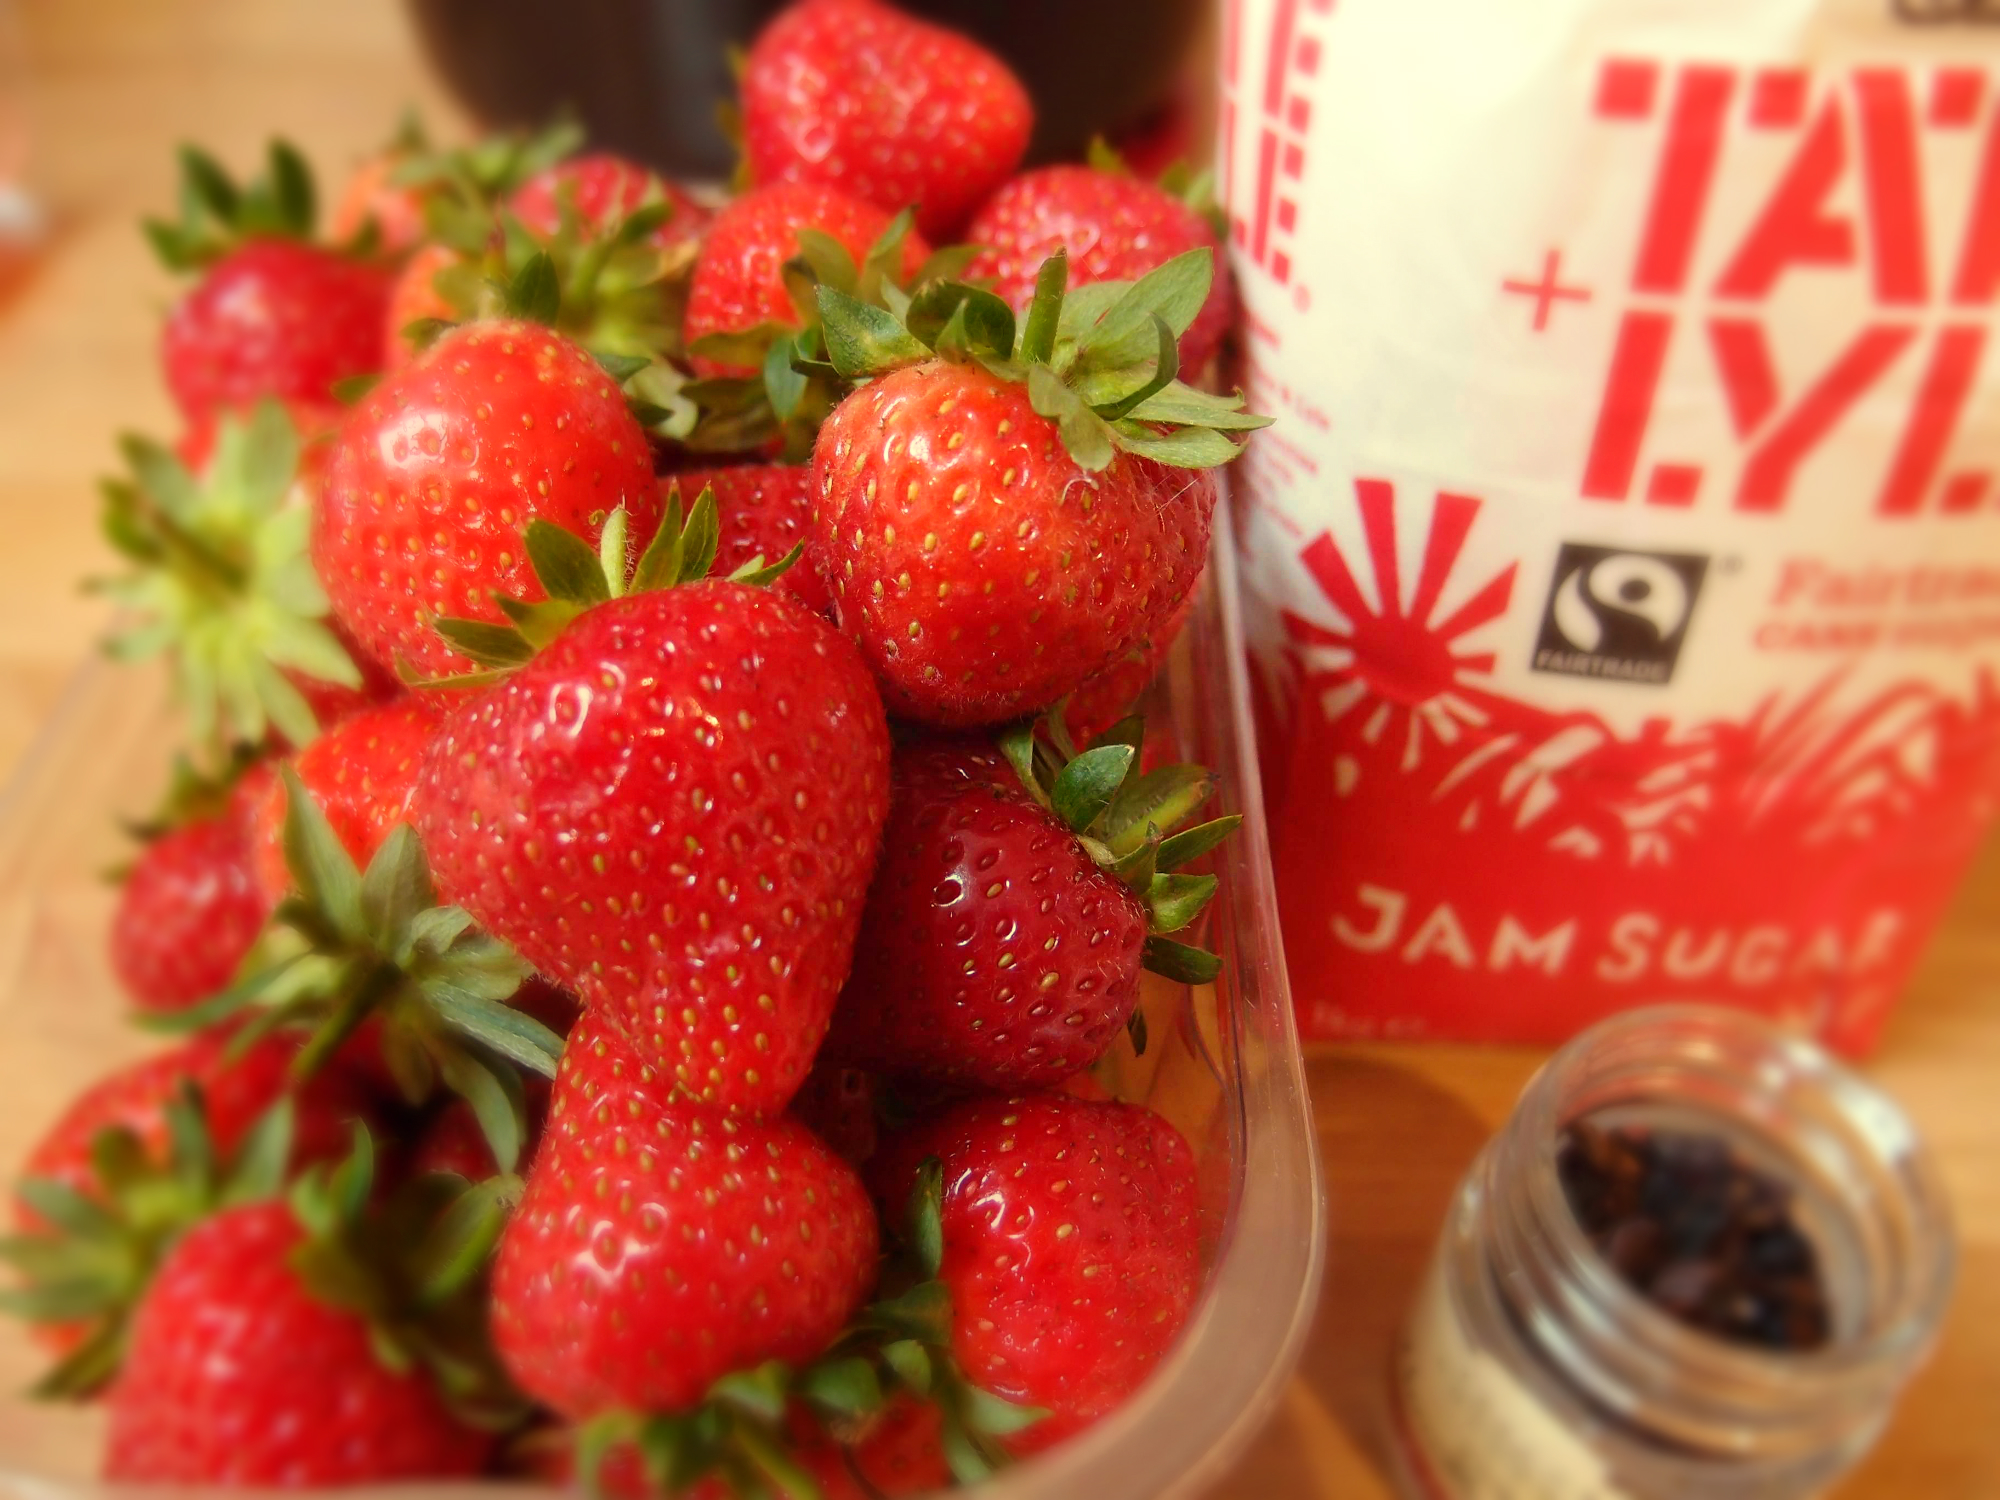
800g strawberries
400g jam sugar
4g ground vanilla beans
You’ll also need: a potato masher and 2 jam jars (500ml).
Step 1: Sterilise the jars. I tried boiling the first jar in water (you have to boil them for 10 minutes), but as there’s hard water in my area, the jar started to get a horrible film on it, so I switched to using the oven. This was much easier! Just leave the jars and lids in the oven at Gas Mark 4 for over 10 minutes.
Step 2: Wash and hull the strawberries. From other recipes, it seems that the less water you get, the better, so I washed them in a strainer and made sure not to keep them immersed in water.

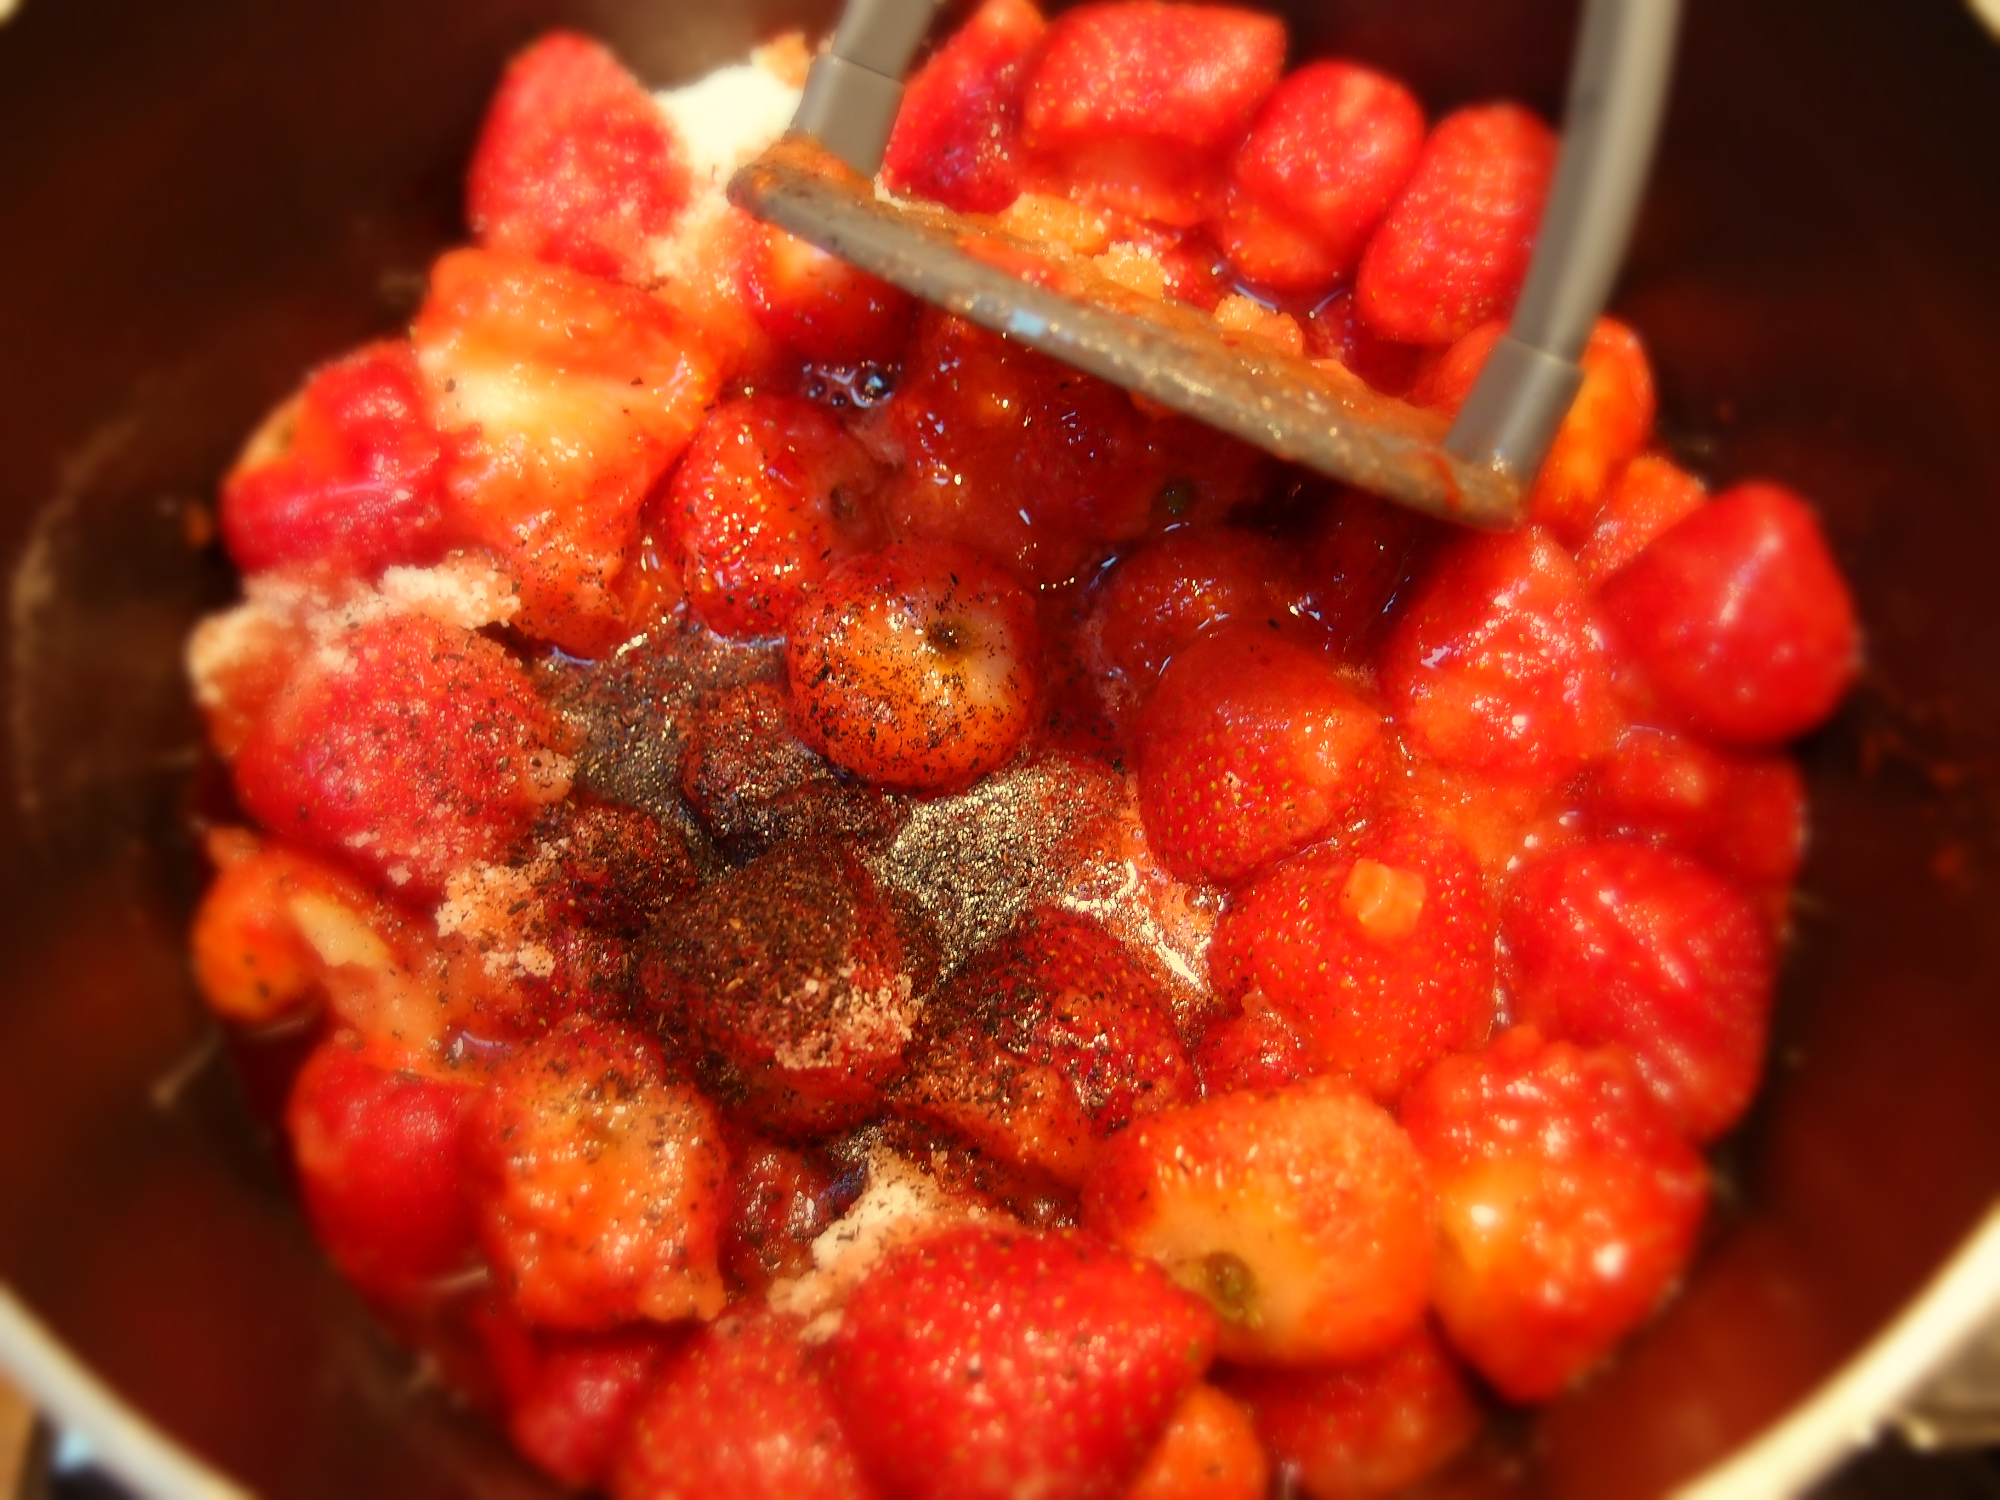
Step 3: Place the strawberries into a pot and place on medium heat (I found it easier to turn on the heat and wait for the strawberries to soften before mashing them). Add the sugar and vanilla. Wait for the strawberries to become mushy and mash them with the potato masher until it looks a bit like the below.
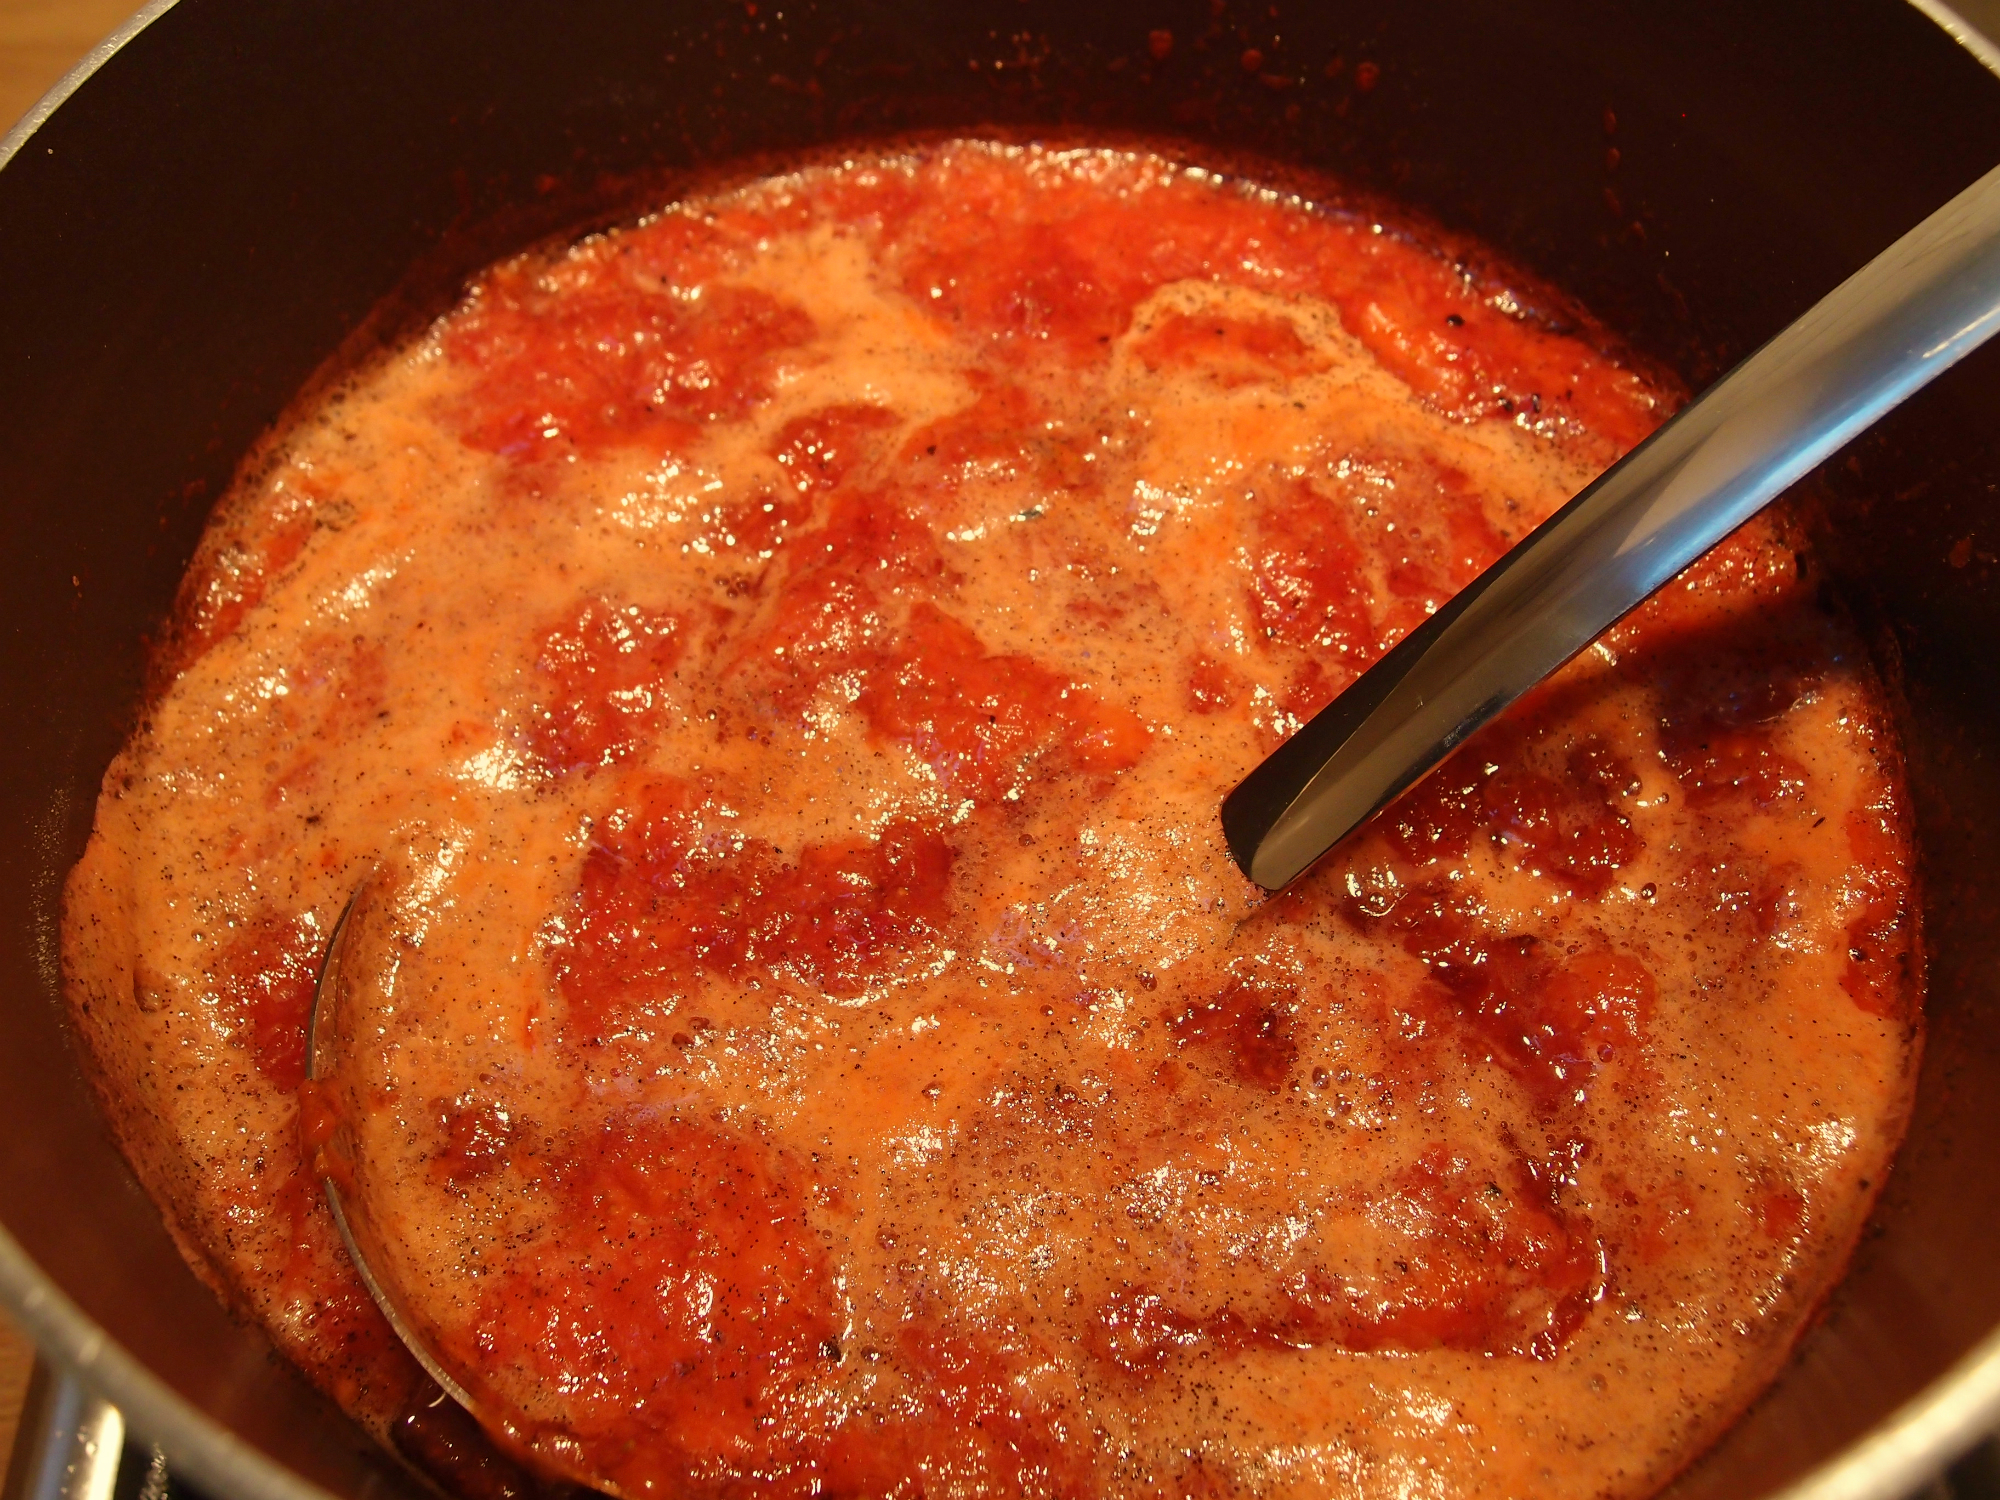
 Step 4: Wait for it to boil, then simmer for 20 minutes on lower heat (the original recipe said 5 minutes, but it didn’t set when I did it only for 5 minutes). Stand for 15 minutes and take one spoonful aside. If the spoonful sets (although this jam will still end up being quite a runny one), then we’re ready for the next step. If not, then simmer for another 10 minutes, and repeat. If it’s not setting, then from the advice elsewhere, you can add a squeeze of lemon and a touch more jam sugar, stir and try again.
Step 5: Take the sterilised jars out of the oven to allow them to cool. Once you know that the jam can set, after it’s cooled, skim off the foam from the top and throw it away.

Step 6: Pour the rest of the jam into the jars, and it’s done!
Compared to other jam recipes, this one was really easy to make, but the jam does tend to be runnier. I’d recommend boiling it longer than the original recipe recommended (see step 4), and definitely don’t seal the jar until you can see that the jam will set. If it hasn’t set by the time you’ve already poured it into the jar, then you’ll need to pour it back into the pan – and you’ll need to wash and resterilise the jars.
The jam I made was on the runny side, but I didn’t want to thicken it by adding more sugar. It does taste amazing though – perhaps it’s the vanilla that lifts the flavour of the strawberries onto another level. What do you think?
Follow @blenderbasil
One thought on “First time making: homemade strawberry and vanilla jam”